Interior visualization
Interior Visualization with AI: See a Room Before It Is Built
Interior visualization is how designers show a room before it exists: sketches, mood boards, or photoreal 3D images. ArchitecturesAI gives you a quick version of the last one. Upload a clay or shaded 3D view of the room, or a pencil sketch, pick the Interior building type and a style, and the AI repaints the same view as a photo-like image with materials and daylight. It is for design options and client conversations, not for exact specifications, so check the result against your plan.
Visualize your interiorSign in with Google or email to render. New accounts get 2 free renders (watermarked); free renders are not available in India on this site.
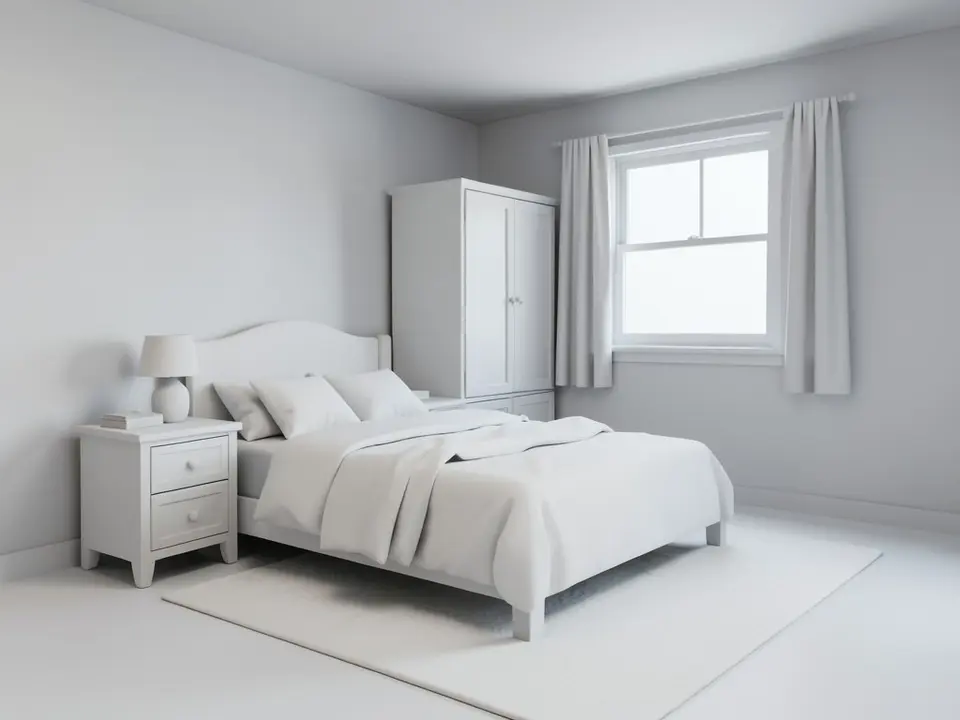
Before: white clay 3D view (AI-drawn stand-in)
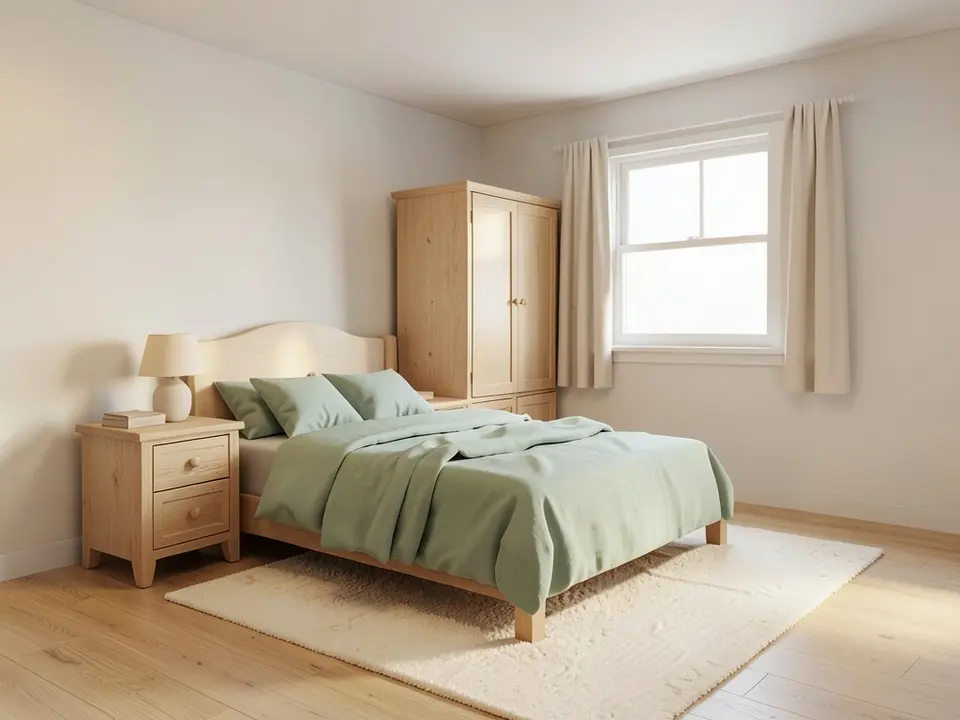
After: sage green and oak
What interior visualization is
Interior visualization covers the visual tools that show how a space will look after it is built or renovated, from simple sketches and mood boards to photorealistic 3D renderings. Designers use it to explain their intent to clients and contractors without relying only on plans and drawings, and to spot problems with proportions or layout early.
The usual high-end route is to model the room in a program such as SketchUp, Revit or ArchiCAD, then render it with a render engine that adds materials, light and textures. Done well it takes skill and time, and it is often handed to a specialist.
AI interior visualization starts from an image. It reads your view, the layout and the main pieces, and paints materials and daylight over it in one pass. It is quick and cheap to try, and it does not replace a model or specification.
How to visualize an interior with ArchitecturesAI
- Click "Visualize your interior". The Render Architecture tool opens with Interior selected under Architecture Type and Modern under Style. Sign in with Google or email.
- Under "Please select an image", click Select Image and upload a JPG or PNG of the room: a screenshot or export of a clay or shaded 3D view, a pencil sketch, or a photo of an existing room.
- Keep Interior and pick the Style closest to the look you want, such as Modern, Scandinavian or Minimalist (25 in total).
- Free accounts can only use Low quality (Medium and High are marked PRO). Press Generate and download the result. Run it two or three times, because each one differs a little.
- To change one thing, such as the sofa colour or the floor, use Custom Action or Edit Image on the result and describe it in a sentence; each edit uses credits. The examples on this page ran directly on our image model, not through this tool, so your result will differ.
Choose the view before you upload
The AI keeps your camera, so the view you upload decides what the image can show. Interior visualization guides suggest a handful of standard angles:
- Wide-angle view. Shows the whole space so viewers can judge proportions and how the pieces work together.
- Straight-on view. Shows symmetry and balance, but can look flat if overused.
- Corner view. Shows two walls at once, which adds depth and works for windows and doors.
- Top-down view. Shows the layout of a large room and how furniture sits in it.
- Close-up. Focuses on materials and details; the AI redraws small details most freely, so check them closely.
What you can upload
- A white clay or shaded 3D view from SketchUp, Revit, ArchiCAD, Blender or a home design app. See the SketchUp, Revit and Live Home 3D pages for app-specific tips.
- A pencil or marker sketch with clear lines and perspective.
- A photo of an existing or half-finished room, to see it with new finishes.
- A render that looks flat or dated and needs light and materials.
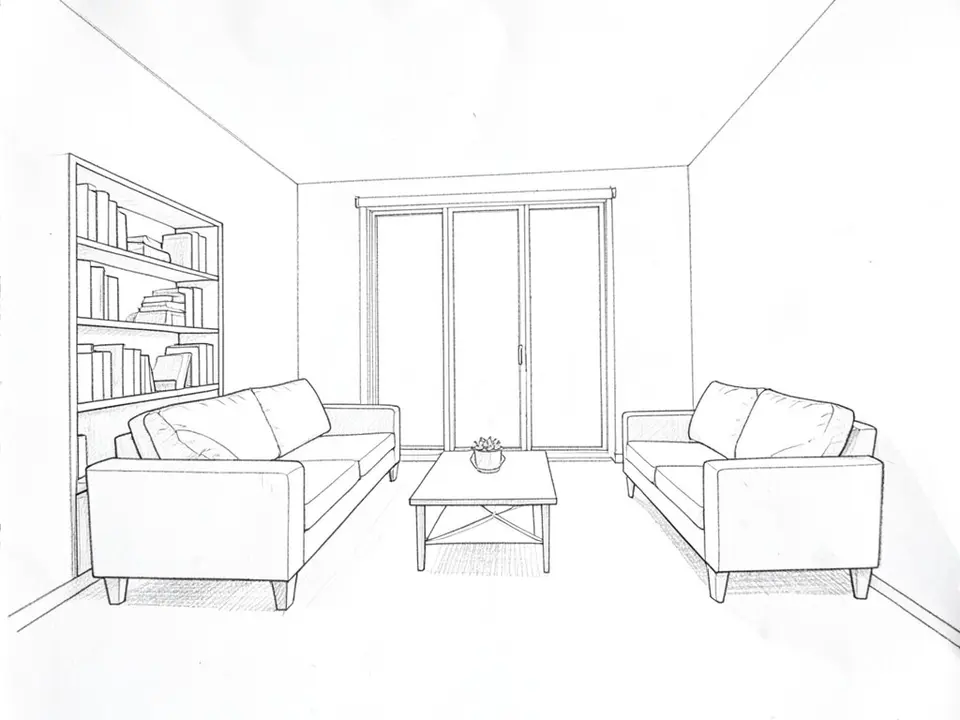
Before: pencil sketch (AI-drawn stand-in)
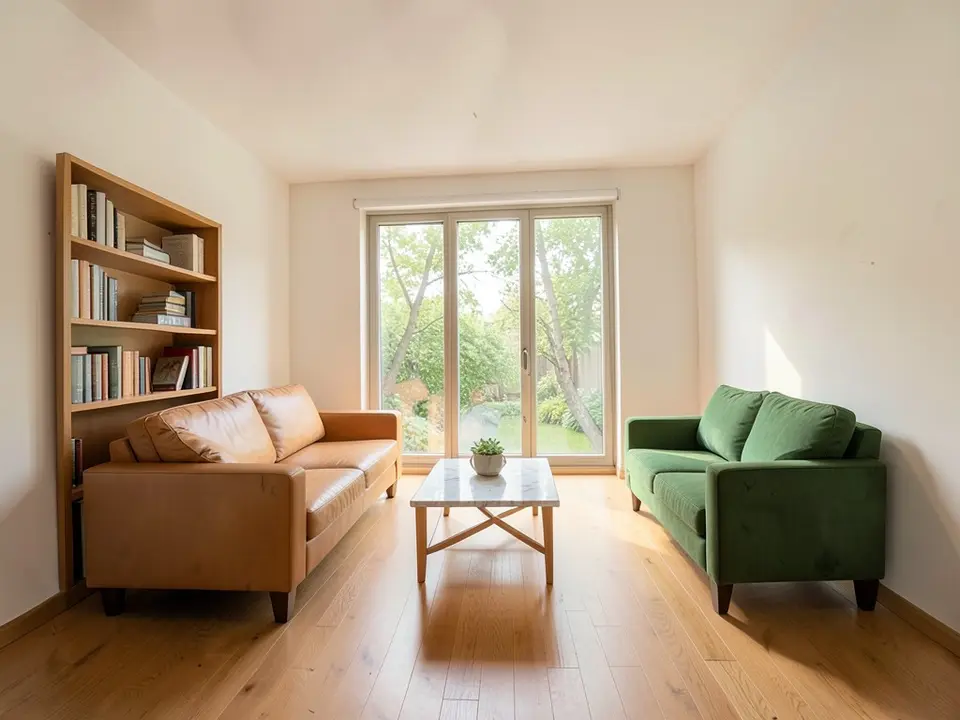
After: leather, marble and oak
What the AI keeps and what it may change
Use this as a checklist when you compare a result with your plan.
- Usually kept: the camera, the room shape, window and door positions, and the positions and rough sizes of large pieces such as beds, sofas, baths and vanities.
- Often redrawn: wall colour, flooring, fabrics, cabinet and furniture finishes, rugs, the view outside and the light.
- Sometimes invented: extra fittings such as a towel ring, new reflections, books, cushions, and a different ceiling height or room depth, as the sketch example shows.
- Never produced: a measured or lighting-accurate image. Check sizes, clearances and light in your design program.
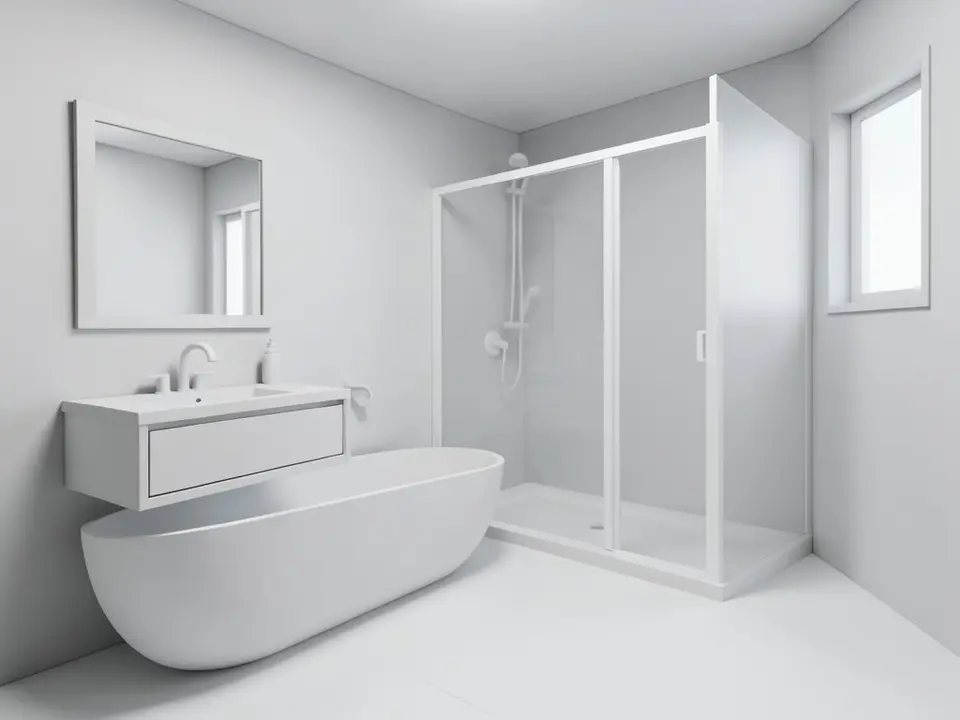
Before: white clay 3D view (AI-drawn stand-in)
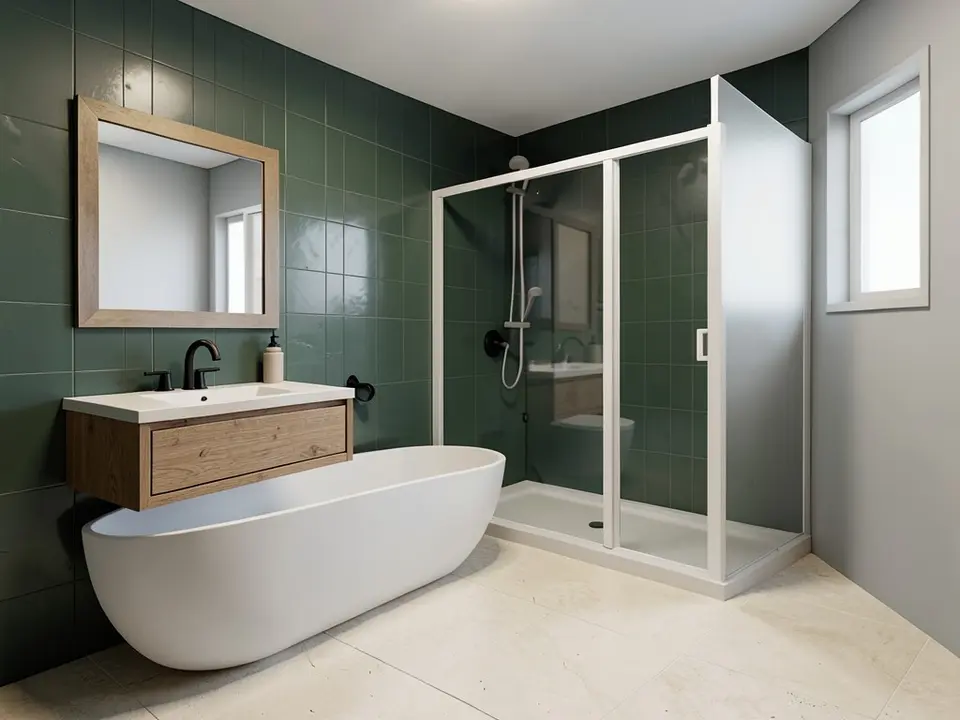
After: green tile and oak
AI visualization, a render engine or a studio?
- Render engine inside your design program. Faithful to every object, material and light you placed; you set up the lights, materials and settings and wait for the render.
- A visualization studio. A person builds and finishes images to a brief, with revisions, and can make animations or VR; you get a quote and wait. See the 3D rendering services page for when a studio is the better choice.
- ArchitecturesAI. No setup: upload a picture and get a photo-like image back. Good for design options and client conversations; not faithful to your exact finishes and not a lighting study.
Who uses it
- Interior designers and decorators who want a quick look at a few directions before spending hours on a final render.
- Homeowners planning a renovation who have a floor plan or a home design app view and want a feel for materials.
- Interior design and architecture students who need a presentable image for a review.
Free tier and plans
You need a free account to render. New accounts get 2 free renders, and free renders carry a watermark. In India this site does not include free renders, so a paid plan is needed there. Weekly, monthly and yearly plans for more renders without the watermark are on the pricing page.
The "before" images on this page are AI-drawn stand-ins, not exports from a design program or real sketches.
Frequently asked questions
What is interior visualization?
It is the use of images to show how a room will look after it is built or renovated, from sketches and mood boards to photorealistic 3D renders. With ArchitecturesAI you upload a view or sketch of a room and the AI repaints it as a photo-like image.
Can I turn a 3D model view or a sketch into a realistic interior image?
Yes, from a picture. Export or screenshot the 3D view as a JPG or PNG, or upload a clear sketch, choose Interior and a style, and generate. The tool does not open model files such as .skp, .rvt or .pln.
Will the render keep my furniture layout?
It usually keeps the camera, the room shape, the windows and doors and where the large pieces stand, at roughly the same size. It can still shift proportions, change colours and finishes, and add small details, so compare the result with your plan.
Is the render accurate enough for a client contract or construction?
No. Use it as a concept image. The AI does not read your lights or materials and can add or change details, so check dimensions, finishes and lighting in your design program or with a studio.
Can I change just one thing, like the floor?
Yes. Use Custom Action or Edit Image on a result and describe the change in a sentence. Each edit is another render and uses credits.
Do I get a 3D model, a video or a walkthrough?
No. The output is a still image. No 3D model, animation or walkthrough is created.
Can I use it for a room that already exists?
Yes. Upload a photo of the room and choose a different style to see it with new finishes. For redesigning rooms by photo there is also the interior design tool on this site.
Is it free to try?
Yes. After you sign in, a new account gets 2 free renders with a watermark. In India this site does not include free renders. Paid weekly, monthly and yearly plans are listed on the pricing page.
Turn your next room view into a photo-like image
Upload a clay 3D view or a sketch of the room, choose Interior and a style, and download the result. Your first 2 renders on a free account are on us.
Visualize your interiorRelated: 3D rendering services · Real estate rendering · SketchUp to render · Live Home 3D render · Sketch to render AI · Render Architecture tool · Pricing